Module 1: Foundations
Spatial awareness
Setting priorities for maximum results: consistency vs alignment
Concept #1: Shoulder alignment, hollow backs and heavy hands

Concept #2: Finding lightness
We will call a Functional or Viable Alignment whatever can be practiced with the wall and can / will eventually exist without it.
We shall call any other form of lines against the wall Dysfunctional or not viable.
A functional line against the wall feels light.
The lighter, the more functional.
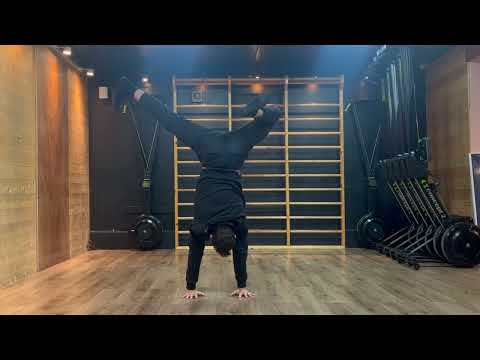
The way you set yourself up into a handstand C2W and hold yourself there is therefore extremely important to determine whether your line is functional or not.
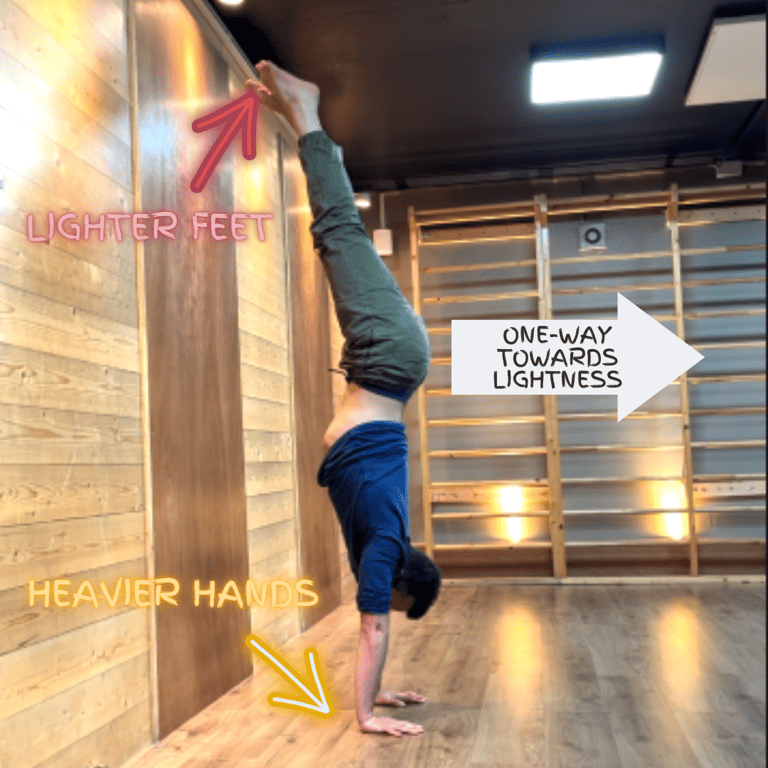
I like to call this a One-way street.
Your mission is to pour as much as your weight off your feet and into your hands and hold it there.
Eventually, once fear is managed, you will be able to make your foot / feet so light that they will take off the wall - this is where we leave the realm of take-off and enter the world of balance.
For now, pay attention to the way the weight shifts in your hands, and sometimes back to the wall.
Your mission C2W is to achieve an alignment as close as possible to a functional alignment.

Module 2: B2W
The Kick-up
Different forms of kick-ups
There are of course many different ways to kick-up into our handstands. Some more complex and fancier than others.
The basic kick-up
There are two kinds of basic kick-ups:
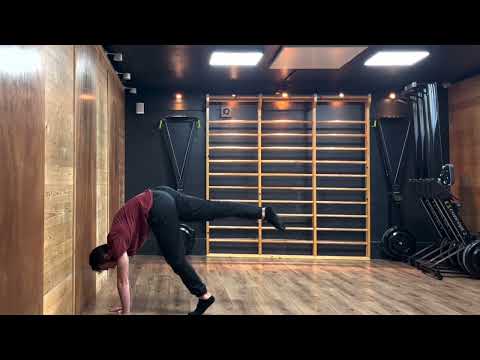
1) The lunging kick-up
We step and lunge into our kick-up, using that momentum to help us reach the overshot zone.
NB: You’ll see me perform this kick-up a lot in my tutorials.Because of some of the contexts and environments I want to practice my handstands in, it made more sense for me to choose this one first. The hands-on-floor came very easy once I got my handstands. Do swap it for a hands-on-floor kick-up if you prefer. My recommendation:- stick to one kick-up- stick to one side. No, you won’t get lobsided.
2) The hands-on-floor kick-up
We start with zero momentum, hands already in our desired position.
Standing up vs hands down
There are two main ways to approach your kick-up as a beginner.
The first way to practice your kick-ups is to start hands on the floor.
Pros:
- easier to find the first axis (align shoulders above hands)
- easier to gauge momentum and refine the power we are generating through the legs
- easier to tense our legs
- better suited to develop strength around shoulder flexion
Cons:
- less momentum, so you are gonna have to push a bit harder :)
The second way to practice your kick-ups is to start standing up.
Pros:
- easier to get your ass up there with so much momentum
- easier to integrate into many movement practice
Cons:
- harder to control that momentum
There is no right or wrong.
I need you to explore both for the next 7 days.
And pick a winner.
You are gonna stick with the winner for the next 3 months.
And then you will open your horizons, should you decide so.
The _____ (fill-in-the-blank) up
Straddle up, tuck up, pike up… all those kick-ups refer to you pushing on both legs to land in the desired alignment (straddle, tuck, pike, etc.)
Let’s be honest for a second here.
No need to work on those until you have achieve mastered the basic kick-up first.
Others
Press up, circular kick-ups, gymnastics kick-up, acrobatic variations et al.
Conquer you basic kick-up first and those will be the next steps.
Start with the basic kick-up.
If unsure, try both variations (lunging and hands on floor).
Select the one that maximises your success rate.

What if you can’t reach the wall?
Module 3: Balance
To start talking seriously about fingers, I suggest you have a look at this public video if you haven’t already:
Fingers are the final piece of our puzzle
Step 1: we have kicked up with the right amount of momentum, far enough into the balancing zone.
Step 2: we have achieved a functional line, one that matches what our body can do, and has an adequate distribution of counterweights overshot and undershot.
→ Step 3: using our fingers will allow us to balance this position for a few seconds.
Fingers are extremely finicky. They will not do their job if your line is not functional, or you have too much momentum, or if you are undershot.
This is why I have been harassing you with the necessity to work in silos, and to perfect your kick-up and understand your alignment first. Because without step 1 and step 2, there won’t be any step 3, no matter how strong your fingers.
In handstands, fingers can only do two things:
- they can push you away from the balancing zone or
- they can relax, allowing you further into the balancing zone.
By pushing on your fingers in a functional line, you will take-off the wall and/or float for 1 to 3 seconds. This is a great goal to aim for, as a beginner.
To convert those into 10, 30, 60 seconds freestanding, we will need to push, then relax our fingers on time to lean back into the balancing zone, then push again once more before we go too far forward, and repeat. We call this process of pushing and relaxing the fingers in a timely fashion: finger pulsing.
To learn to pulse the fingers, we practice the pingpong drill: once on the wall in a functional line, push on your fingers and let the body take off slowly from the wall thanks to this action. Yes, this takes time to feel and master, and you will be tempted to cheat by pushing on the wall with your feet. Don’t!
Once you are off the wall, you will need to relax your fingers at some point. Otherwise, since pushing makes you travel backwards, you will eventually fall back on the floor.
If you relax on time, your foot, or feet, or butt, depending on the shape you are working on, will fall back on the wall. Congratulations, you have performed a ping pong.
In terms of progressions, we therefore have:
- push on the fingers B2W to take-off with clean technique, float for a second or so and let that drive you back down
- push on the fingers B2W to take-off with clean technique, float for a second or so, stop pushing on time to fall back on the wall.
- Perform 3 ping-pongs back to back
- Pulse off the wall
Module 4: Fear
 Made with Bullet